Loop Labels
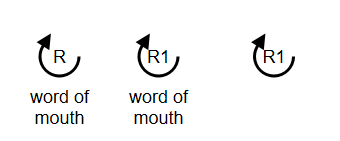
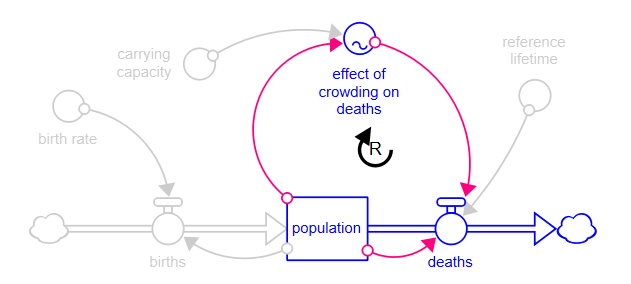
Use loop labels to highlight feedback loops (or parts of feedback loops) in your model. You can place the label inside the loop or set them up in a legend with the loops highlighting as the mouse passes over the labels.
You can create Loop Labels only on the model. However, the label will display and any highlighting will be active when model structure is presented on the interface in a story or using the Model View tool.
To place a loop label on the diagram
- Click on the loop label
 in the build toolbar of the model window.
-
Click the diagram to place the label.

-
After placing the loop label you can type in the name. This appears just below the label icon. It can also be edited from the Loop Label Properties (double-click in explore mode or if the panel is closed).
-
To specify the inner text (commonly R or B) and rotation direction as well as to set up the list of variables to be highlighted when the user passes the mouse over the label click on the label to open the Loop Label Properties (double-click in explore mode or if the panel is closed).
-
To highlight the contents of a loop label independent of cursor position check the highlight check box in the Loop Label Properties or right click on the loop label and select Turn on Loop Highlight. To take away the highlight uncheck the box or select Turn off Loop Highlight from the right-click menu.
Note In explore mode on the model you can also toggle the highlighting of a loop by simply clicking on the loop label.
Specifying both inner text and a name will make the label most readable, though using the convention of polarity and number (as in R12) is also quite common

You can also create a loop label from the CLD Loops Panel by selecting the icon for a loop and clicking on your model diagram.
You can drag selected variables into a loop label to populate it. If the selected variables form a loop the connectors involved in the loop will also be selected. Otherwise any connectors between the selected variables will be included.
Regardless of the way you create a loop label, you can always edit its content from the Loop Label Properties
panel.
You can move a loop label by dragging it and resize it by clicking on it and dragging its resize handles.
If you do select variables and connectors for the loop label, they will be highlighted whenever the user move the mouse over the object.
Note Selecting the variables to highlight is optional. It can be very valuable when working with the model to distinguish the different loops, but the same effect can be achieved by highlighting structure in a model view object on the interface.
Note You can set documentation for Loop Labels by clicking on  at the bottom of the panel. Documentation will display when the loop label is hovered over on both the model and in Model View objects on the interface.
Highlighting Loops
If you assign variables and connectors to the loop label, they will highlight whenever you move the mouse over them, or click on the highlight checkbox on the Loop Label Properties panel. This highlighting is helpful directly, and can also be copied and pasted as a picture into other documents.
- Select everything in the diagram that you would like to be pasted. This can be the entire model.
- Position the cursor over the loop tool. The variables associated with the loop tool will highlight.
- With the cursor still positioned over the loop label, use Ctrl+C (⌘+C on Mac) to copy the structure. Right clicking to copy or using the Edit menu will not work as these will change the selection or the highlighting.

 See Also

