
If you have set up a multiplayer game as discussed in Multiplayer Games, you can also set up specific roles for individuals. For example you might have a class of 20 people that you would break into 5 teams of 4 people each to play the game (assuming there are 4 players in the game). This can be done using Team and Role assignments.
In the Multiplayer Options dialog there is a checkbox to enable team and role assignments. This checkbox sets your model to require authentication (see Authentication) which is necessary to assign teams and roles. There is also a check box to enable game recovery, which requires Data Collection and can be helpful in case users get disconnected while playing a game.
Note If you disable authentication in the Publishing Options dialog you will not be able to assign teams and roles.
Using team and role assignment requires that you have set up a paid simulation (see Paid Publishing). In particular, the role and team assignment capabilities depend on Authentication and (optionally) Data Collection. The data collection part operates in the background, allowing interrupted game sessions to be restarted, and rejoined. You need to enable this in Stella Architect when publishing, but you do not need to do anything on the exchange to make it work.
The authentication process (providing access to the published interface to groups you have set up) is the first step in creating team and role assignments.
The people that you assign roles to must all be authenticated users of the published interface. The process for setting up groups and assigning them to a published interface is described in Authentication.
Note Before you set up groups that you want to authenticate, you may want to make the published interface unavailable. This will prevent users from getting early access to the game by setting up their own sessions. See
The most common way to set up a group will be to load a class list as described in Managing Groups on the isee Exchange. When you do this, you will be prompted to send an invitation email to any class members who do not already have accounts on the isee Exchange.
For more details about subscribing to authentication on the isee Exchange visit the isee Store.
After you have created a group and given it access to your multiplayer game they will be able to use the game, start new sessions and take on roles as for any game. This will be true for each authorized user, until you assign them to a team.
You can assign the members of that group to different teams and different roles within the teams as described below. The experience of the user will depend on how you make these assignments.
This will be the most common. When a user with just one assignment goes to the game, they will immediately be placed in the waiting room for the associated session (see Playing Multiplayer). They will have their assigned role and will not be able to change it. The only thing they can do at this point is to indicate that they are ready to start.
If a user is assigned to multiple teams (in the same role in each team or a different role), they will be offered a list of sessions for the teams that they have been assigned to when they enter the game, and also the opportunity to start a new session. Once they select one of those they will be placed in the waiting room for the associated session in their designated role (which they can't change). They will only have access to sessions associated with teams to which they have been assigned.
Note You cannot assign a user to multiple roles within a game.
Note Users assigned to multiple teams will not be able to see sessions created by unassigned users.
Note If you leave a position blank in a team assignment that position will not be filled. Only optional roles can be left unassigned.
If you leave users without any team assignment, they will be allowed to create sessions, and join sessions created by other unassigned users (or users assigned to multiple teams). They will not have any access to the sessions created for the teams that you have assigned.
To create teams and assign users to them click on Settings for the multiplayer game:

This will open the settings for the game. On the right (below on a narrow screen) you will see additional settings:
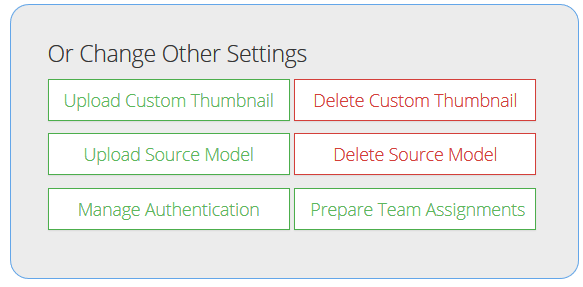
Click on Prepare Team Assignment:
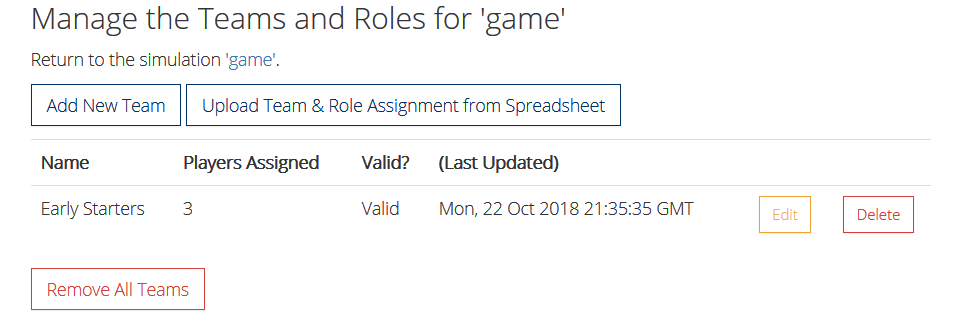
Note Prepare Team Assignment will only be visible if you have enabled authentication in the interface you published.
The most convenient way to set up teams is by using a file to upload them onto the isee Exchange. To do this click on the Upload Team & Role Assignments from Spreadsheet button:
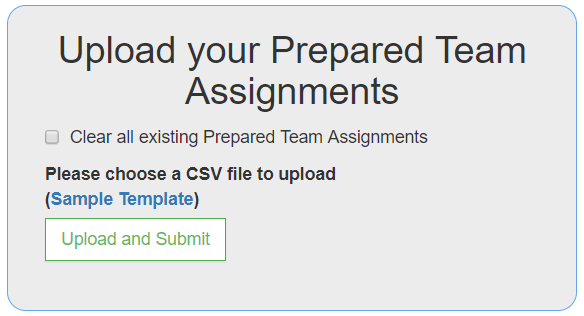
The format for the spreadsheet is straightforward. The first row should contain headers for "User Email", "Role" and "Team". The following rows should contain the values associated with these headers. The roles must match exactly the role names that you have set up in your model in the Multiplayer Options dialog (this is case sensitive). The team names are arbitrary, but must be unique.

Note You can download a template (in fact the above template) by clicking on the Sample Template link.
After uploading, if successful, you will be returned to the team and role assignment page with a message:

If there are errors, you will see the messages indicating what the errors are and remain on the upload page.
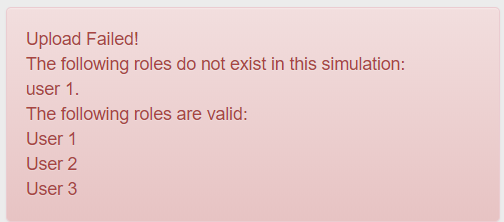
Correct the issues and upload again. No changes to your team and role assignments will be made in this case.
Uploading files will add to the set of teams and roles. If you have included all of the teams and roles that you want to use in the single file, then click on the Clear all existing Prepared Team Assignments button before uploading. Again, if there are errors nothing at all will happen (no teams will be added or removed).
Click on the Add New Team button.
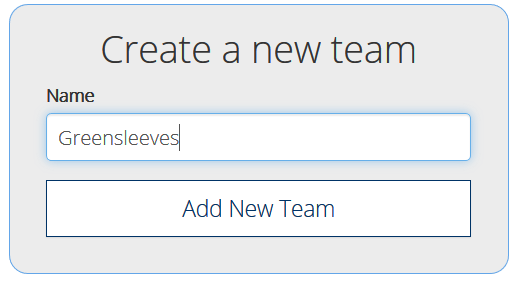
Type in the name for your team, and then click on the Add New Team Button.
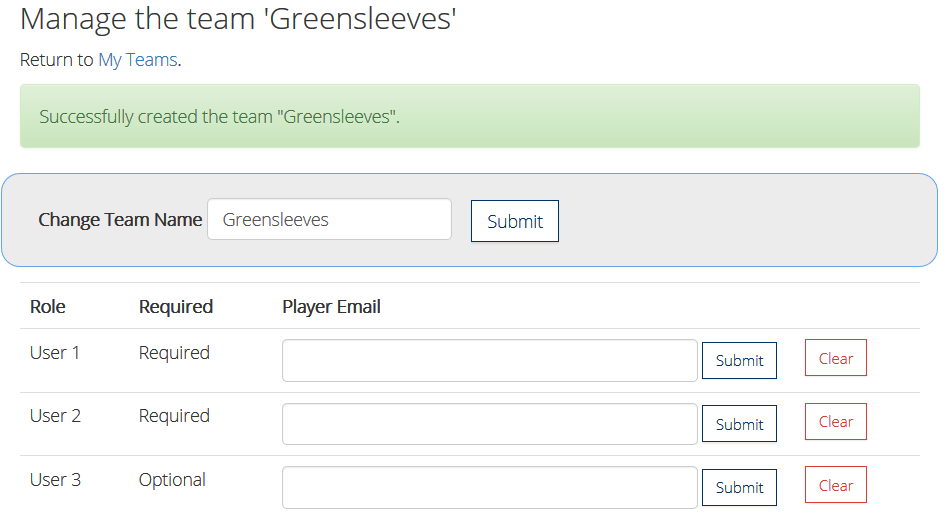
For each role you want to add type in the player email and type submit. If the player is not in one of your authorized groups you will get a message. You will need to add them to one of the groups first, then add them to a team.
Session recovery is only possible if you have enabled data collection when publishing the sim.
If a player leaves a session, the other players will be informed that they have left. That player may rejoin the session by entering the game again. If they are only assigned to a single team, they will be automatically placed in the in-progress game. If they have been assigned to multiple teams, they will set a selection of possible sessions including the session they left, which will have In Progress appended to the name in parentheses:

The expectation is that players assigned to multiple games will understand that they should select that session, and not start a new session for the same team - though they will have that option.
While a player is absent from a game the other player may proceed forward in time. The player will rejoin at whatever time the game is currently at. The other players may not, however, start a new round of play.
If all players leave a session the session will be available for resuming. In this case it will also be labeled in progress, but there will be no role descriptions:

If a player has only been assigned to a single team, they will automatically join this session. If a player has been assigned to multiple teams it will be presented as an alternative. Again, the expectation is that players assigned to multiple teams know they should select the in progress session.
Play will resume where it left off when a session is resumed in this fashion, though it is possible that the last set of decisions may be lost if the failure is due to a network connectivity issue.