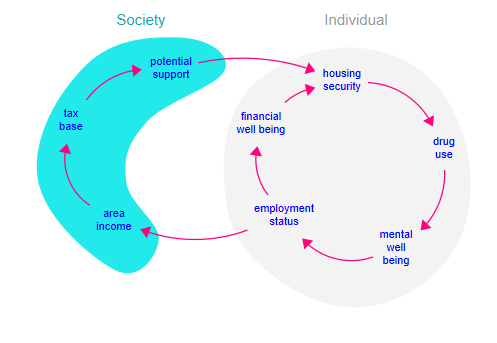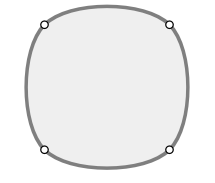
The custom shape tool allows you to place an adjustable shape on a model to group together some variables in an informative way. Such annotations are common in larger Causal Loop Diagrams:


 ) and press the delete key, or right click on it and select delete.
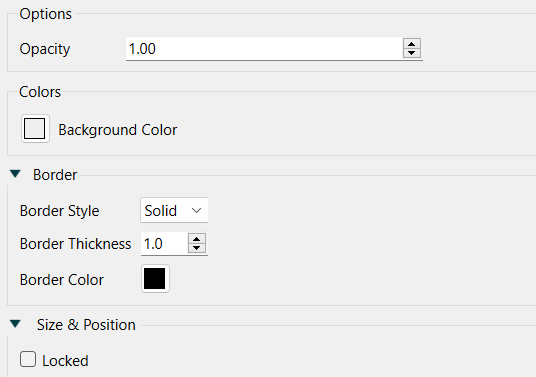
You can specify the background color and opacity as well as the border color and style.

Opacity specifies how much of the outline and fill will show through. At the default of opacity of 1, the background is not visible at all. Use numbers close to 0 to make the shape almost invisible, and values between 0 and 1 to partially cover anything below the shape.
Background specifies the background color to use for the interior of the shape. Click on the color button to select a color.
Border Style specifies the style used in drawing the border for the custom shape. Choose either Solid or None. If you select None, the remaining settings won't matter.
Tip: When you first place a custom shape it will have a solid outline and a light gray background.
Border Thickness lets you specify how thick, in points, you want the border around the shape (or the shape itself for the two line types) to be. This has an effect only when you've selected Solid for the Style.
Border Color lets you specify the color for the outline. Click on the displayed color button to select a color. This has an effect only when you've selected Solid for the Style.
Note Custom shapes will always be drawn on below all other objects other than graphics frames the model. To place a shape over a graphics frame or another custom shape cut and paste it in the same location.
You can lock custom shapes, but you can only move and size them by dragging as they do not have a clear rectangle defining them.