Multiplayer games use the same interface components as single user interfaces, but they have a different procedure for getting started and for advancing a simulation.
When you navigate to a published multiplayer game, you won't simply see the published interface. Instead, you'll need to go through a handshake process to set up and join a game with other users.
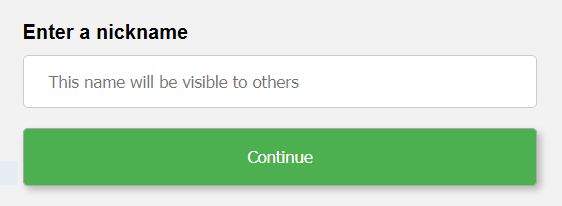
If your aren't logged into the isee Exchange, then when you go to a published multiplayer game, the first thing that will happen is that you'll be asked for a name to use:

This name will show up for other people in the game. There are no restrictions on the name you choose. If you're playing a game with people that you know, it's probably best to use your own name.
If you're logged into the isee Exchange, you won't see this. Instead, you'll proceed directly to the next step. Other players will see your name as you entered it for the isee Exchange.
With multiplayer games, one person must create a session, then others can join that session. If you arrive before a session has been created, you'll see:
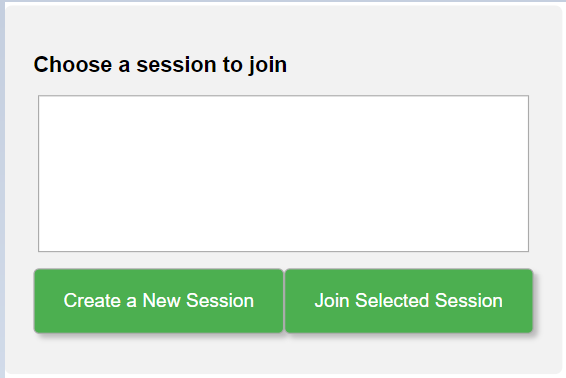
The list of sessions will be empty. Click on Create a new Session, and you will be asked for a name:

You can enter any name you want for the session.
Note: If you're working in a facilitated session, you may be given instructions about who should create a game and what the game should be called.
Note If the game author has set up teams and roles you may not have the option to create (or select) a session.
After you enter a name and press continue, you'll be put into the waiting room for the game. You'll need to wait there until enough other players have joined the game, as described below.
If a session has already been started, after you enter your nickname, or directly on opening the game in your browser if you're logged into the isee Exchange, you'll see the session in the list.
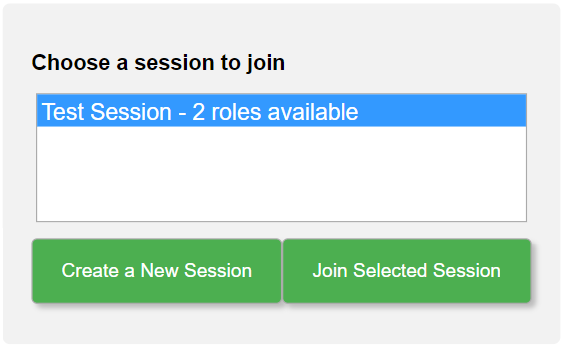
In this case, you can simply click on Join Selected Session. If there are multiple sessions in the list, you can click on the one you want, and click on Join Selected Session. You'll then be put in the waiting room.
In order for a multiplayer game to start, all of the required roles need to be filled. Until this happens, all players will be kept in the waiting room. You enter the waiting room by joining a game, or by creating one. A typical waiting room might look like:
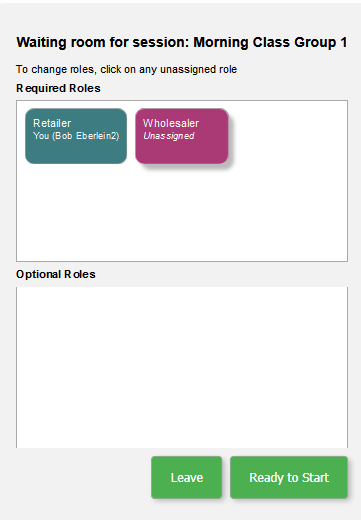
The top tells you what session the waiting room is for. Below that is a list of required roles, and below that a list of optional roles (none, in this picture). While you're in the waiting room, you'll always be assigned to a role. If there are any unassigned roles, you can click on them to get that role assignment. Role assignments are made in the order of arrival, and there may not be any unassigned roles available. If the game's moderator has preassigned a role to you then you will not be able to change it.
To enter the game, click on Ready to Start. Once all the required roles have been filled, and the players for them have hit ready to start, the game proper will start. Until that time, you'll be given two choices: Leave and Cancel Ready to Start.
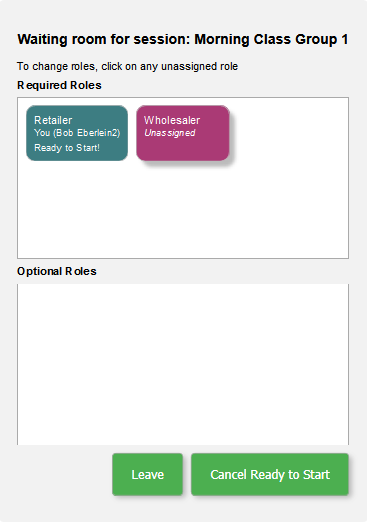
Cancel Ready to Start will take you back to the previous state. You can also click on an unassigned role to take on that role. If you simply wait, however, the game will normally start at this point, as the other roles are filled and their users click Ready to Start.
Note: If, for any reason, a player in any role (required or optional) does not hit Ready to Start, nothing will happen.
Once all of the players are ready to start, and all of the required roles are filled, the game will start. The players will land on the screen that you've indicated will be their starting screen - common, or different for every player, depending on how you've set up the game.
Games will typically make use of the Ready to Advance action which will coordinate the actions of the players, just as the ready to start button described above does. See Building a Simple Interface for an example of this.