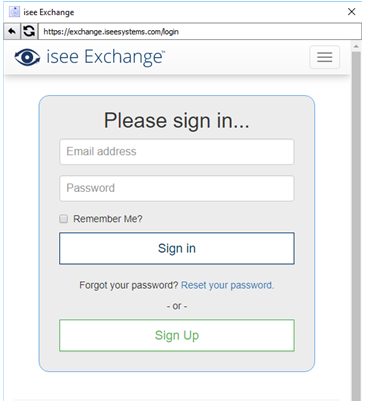
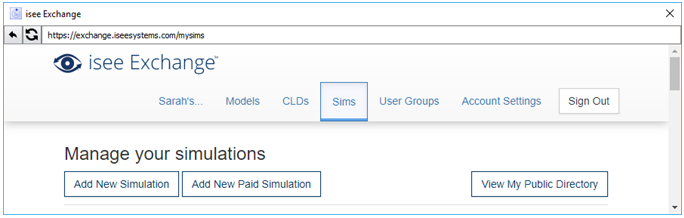
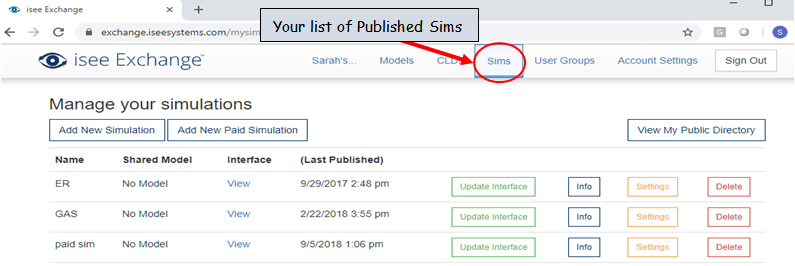
Once you are signed in, you will come to your home page on the isee Exchange:
Select Add New Paid Simulation.
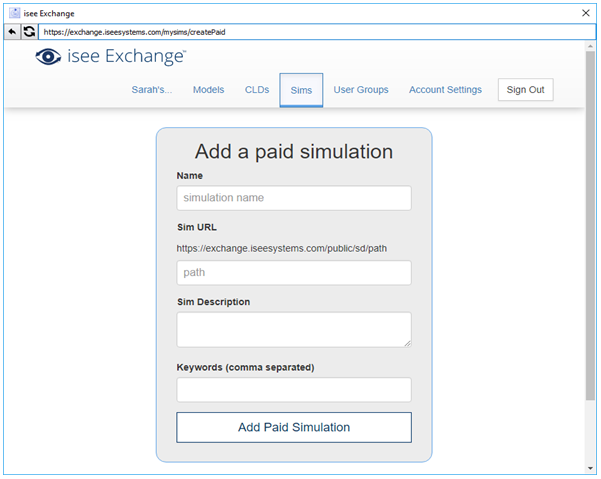
In the next dialog, enter a name for the simulation. By default, the URL to the simulation will use the simulation name you provide. In this window you can also add a description and keywords for your simulation. Alternatively, you can also come back to do this later.
After you’ve purchased a Hosting subscription, isee systems will add authentication to that simulation and notify you when it is ready.
Open the interface window to your Model in Stella Architect.
Open the Interface Settings Panel on the interface and find the button “Configure Publishing Options” to get this window.
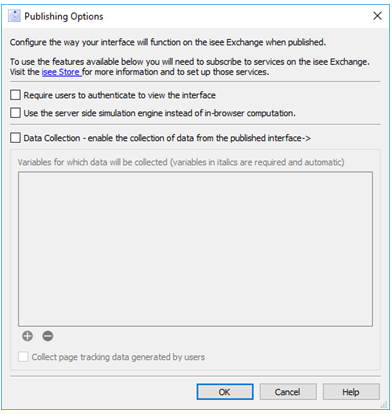
Select the options you would like for your simulation and click OK.
Under the File menu, select Publish. This will bring you to your Exchange Home page. Locate the authenticated simulation in the list.
Select the option to Update Interface. Now your simulation is published with authentication.